

How do you install a curved buckle on a belt?
As a seasoned supplier of curved buckles, I've witnessed firsthand the transformative power these small yet significant accessories can have on a belt. Installing a curved buckle is not just about functionality; it's an art that combines style and practicality. In this blog post, I'll guide you through the step-by-step process of installing a curved buckle on a belt, ensuring a seamless and professional finish.
Understanding the Basics
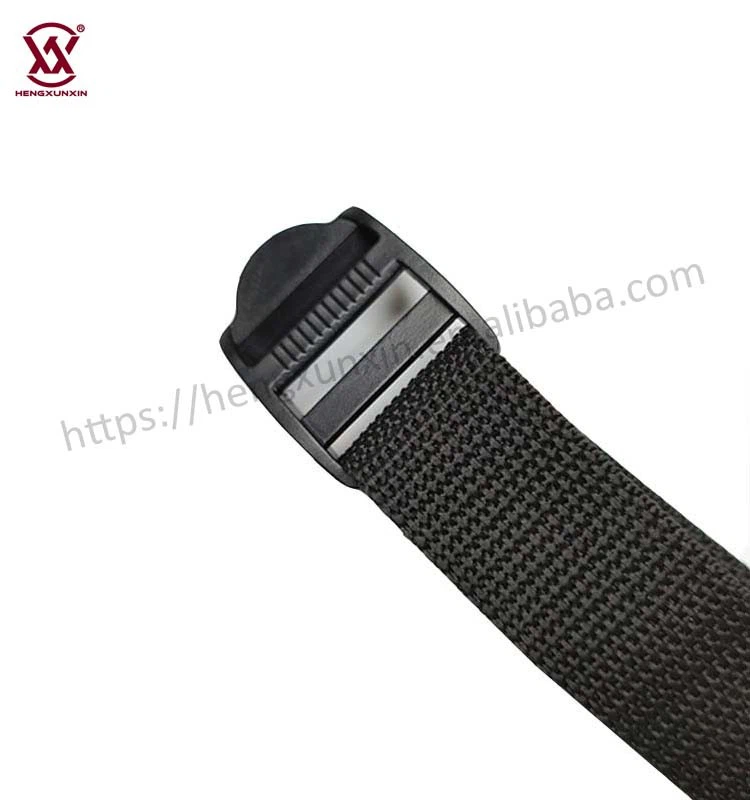
Before we dive into the installation process, it's essential to understand the components involved. A curved buckle typically consists of a buckle frame, a prong (or a slider mechanism in some cases), and a keeper (if required). The belt, on the other hand, is the main strap that will pass through the buckle.
The first step is to choose the right buckle for your belt. Consider the width of the belt, the style of the buckle, and the material it's made from. At our company, we offer a wide range of curved buckles in various materials, including metal, plastic, and leather, to suit different preferences and applications.
Tools You'll Need
To install a curved buckle on a belt, you'll need a few basic tools:
- Scissors or a utility knife: To cut the belt to the desired length.
- Hole punch or awl: To create holes in the belt for the prong to pass through.
- Pliers: To bend the prong if necessary and to secure any loose parts.
- Measuring tape or ruler: To ensure accurate measurements.
Step-by-Step Installation Process
Now that you have your tools ready, let's get started with the installation process:
Step 1: Measure and Cut the Belt
The first step is to measure the length of the belt you need. Wrap the belt around your waist or the intended area and mark the desired length with a pen or a piece of tape. Use scissors or a utility knife to cut the belt at the marked point. Make sure to cut the belt straight and cleanly for a professional look.
Step 2: Prepare the Buckle
If your buckle has a prong, check to see if it needs to be bent slightly to fit the curvature of the belt. Use pliers to gently bend the prong if necessary. If your buckle has a slider mechanism, make sure it moves smoothly and is not stuck.

Step 3: Insert the Belt into the Buckle
Slide the end of the belt through the buckle frame from the backside. Make sure the belt is centered and straight within the frame. If your buckle has a keeper, slide it onto the belt before inserting it into the buckle frame.
Step 4: Create Holes in the Belt
If your buckle has a prong, you'll need to create holes in the belt for the prong to pass through. Use a hole punch or an awl to create holes at regular intervals along the belt. The distance between the holes will depend on the size of the prong and the desired fit. Make sure to create the holes straight and evenly spaced for a professional look.
Step 5: Secure the Belt to the Buckle
Once you've created the holes in the belt, insert the prong through the desired hole to secure the belt to the buckle. If the prong is too long, use pliers to trim it to the appropriate length. Make sure the prong fits snugly into the hole and holds the belt securely in place.
Step 6: Adjust the Fit
Try on the belt and adjust the fit as needed. If the belt is too loose or too tight, you can create additional holes or move the prong to a different hole to achieve the desired fit. Make sure the belt is comfortable and does not feel too tight or too loose around your waist.
Step 7: Finish the Belt
Once you're satisfied with the fit, use pliers to secure any loose parts of the buckle and to ensure that everything is tightly fastened. You can also use a leather conditioner or a polish to protect the belt and give it a professional finish.
Tips and Tricks
- Choose the right buckle for your belt: Make sure the buckle is the right size and style for your belt. A buckle that is too small or too large will not look good and may not function properly.
- Measure twice, cut once: Take your time to measure the length of the belt accurately before cutting it. It's better to measure twice and cut once to avoid making mistakes.
- Use the right tools: Using the right tools will make the installation process easier and more efficient. Make sure to use sharp scissors or a utility knife to cut the belt, a hole punch or an awl to create holes, and pliers to bend the prong and secure any loose parts.
- Practice on a scrap piece of belt: If you're new to installing buckles on belts, it's a good idea to practice on a scrap piece of belt first to get the hang of the process. This will help you avoid making mistakes on your actual belt.
Additional Resources
If you're looking for more information on curved buckles or other types of buckles, we have a wide range of products and accessories available on our website. Check out our POM Plastic Ladder Buckles, 25mm Plastic Ladder Buckles, and Plastic Ladder Buckles Accessories for more options.
Contact Us for Purchasing
We hope this guide has been helpful in showing you how to install a curved buckle on a belt. If you have any questions or need further assistance, please don't hesitate to contact us. We're a leading supplier of curved buckles and other belt accessories, and we're committed to providing high-quality products and excellent customer service. Whether you're a DIY enthusiast or a professional manufacturer, we have the right products and solutions for your needs. Contact us today to discuss your requirements and start your purchasing journey.
References
- "Belt Buckle Installation Guide," Leatherworker's Journal, Volume 10, Issue 2, pages 34-38.
- "How to Choose the Right Belt Buckle," Fashion Magazine, June 2023, pages 67-70.